
Common Mistakes When Ironing Linen (and How to Avoid Them)
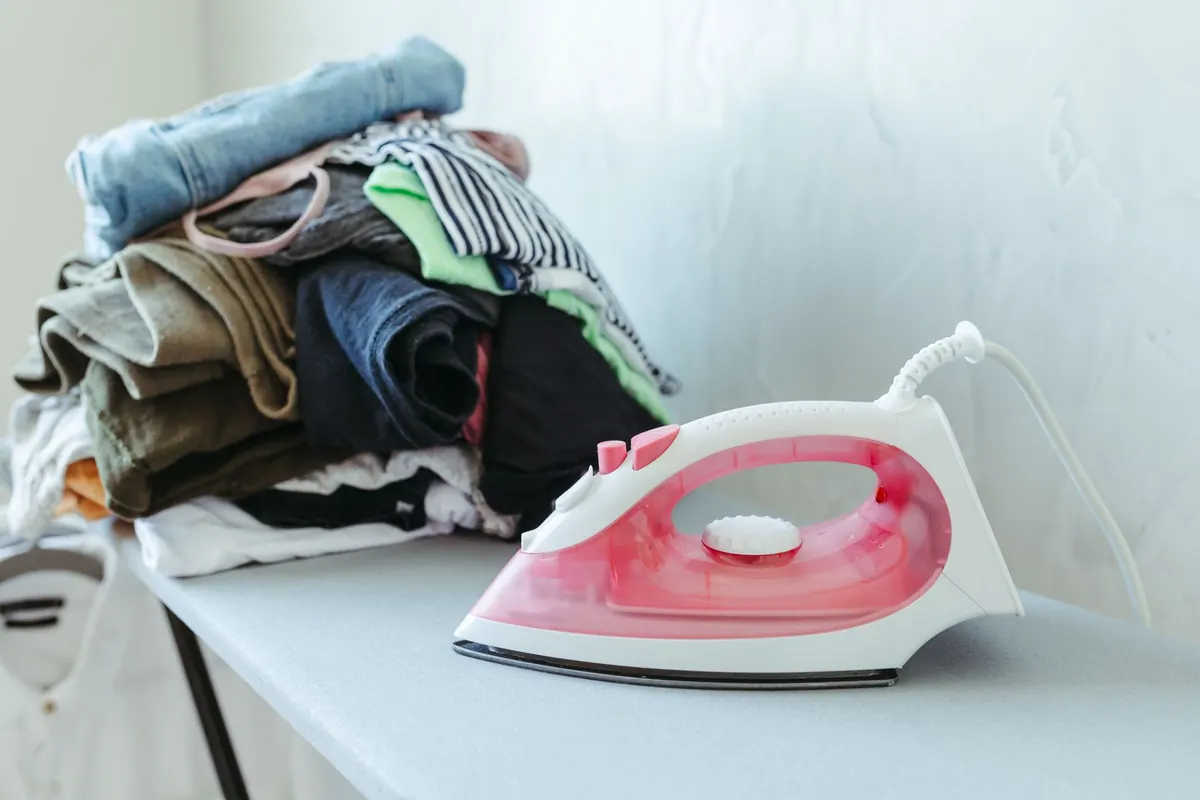
Linen has a reputation for being difficult to iron, and a lot of that reputation is deserved only because of how we treat it. Press a bone-dry shirt on the highest setting and you will get shine, flattening and a stubborn set of creases that never quite fall out. Handle the same shirt with a little moisture and a sensible heat setting and it becomes one of the easiest fabrics to finish. The difference is rarely the iron. It is the method.
Below are the mistakes that come up again and again, along with straightforward fixes you can use on bedding, shirts, napkins and tablecloths alike.
Ironing Linen Bone Dry
This is the single most common error. Linen fibres are hollow and hold water well, which is why the fabric takes so long to dry and why it responds so beautifully to steam. Once it is completely dry, those fibres stiffen and the weave locks into whatever creases it dried in. An iron then has to fight the fabric rather than smooth it.
The fix is to iron while the linen is still slightly damp. If you have taken it off the line and it feels crisp, mist it evenly with water, roll it up loosely and leave it for fifteen to twenty minutes. The moisture will spread through the cloth rather than sitting on the surface. For a stack of bedding, a light spray over each folded layer works better than soaking the top piece.
If your iron has a steam function, use it, but do not rely on steam alone to rescue dry linen. It helps, yet damp fabric pressed with a dry iron usually gives a better result than dry fabric pressed with steam.
Setting the Heat Too High
Linen is a strong fibre and can take more heat than cotton, which tempts people to push the dial to maximum. Too much heat does two things: it scorches the surface fibres, creating a dull sheen that will not wash out, and it sets wrinkles harder because the fabric cools in a compressed state.
Work at a medium-high setting and test on an inside seam or hem first. If the iron glides without dragging and the fabric smells faintly of warm cloth rather than anything sharper, you are in the right range. A burnt smell means stop, let the iron cool and lower the setting.
Watch the iron plate, not just the dial
An iron that has just finished a cotton load may still be too hot for a delicate linen handkerchief. Give it a minute to settle, or press a spare cotton cloth to draw off the excess heat before touching the linen.
Ironing in the Wrong Order
Many people start with the body of a garment, work outward and finish with the fiddly bits, by which point the fabric has cooled and creased again. Reverse it. Small, awkward areas first, large flat panels last, so the piece is never folded back on itself after it has been pressed.
A sensible sequence for most linen items looks like this:
- Collars, cuffs, plackets and seams, pressed flat and opened out.
- Sleeves, using the narrow end of the board or a rolled towel inside the shoulder.
- Yoke and back, working from the centre outwards.
- Front panels, then the hem last.
For flat items such as tablecloths, start at one corner and work along the length rather than ironing the middle and chasing creases to the edges.
Pressing Instead of Gliding
Linen likes movement. Resting a hot iron in one place, even briefly, flattens the weave and produces the shiny patches that show up most on dark colours. Keep the iron moving in long, steady strokes, following the grain of the fabric. Lift and reposition at the end of a stroke instead of sliding sideways, which can stretch a bias-cut hem or a loosely woven napkin out of shape.
Use your free hand to smooth and gently tension the fabric ahead of the iron. That light pull is what gives linen its crisp finish rather than a flat, lifeless one.
Ignoring the Press Cloth
A thin cotton or linen press cloth between the iron and the garment solves several problems at once. It spreads heat evenly, prevents scorching and stops any residue from the soleplate transferring onto pale fabric. It also lets you press embroidery, buttons and dark linens that would otherwise mark.
This matters most with:
- Dark and saturated colours, where shine is most visible.
- Embroidered or monogrammed linen, where thread can flatten or snag.
- Starched pieces, which scorch more readily than untreated cloth.
- Older linen, where the surface fibres have already softened with age.
A clean, undyed cotton tea towel or an offcut of plain sheeting works perfectly well.
Over-Drying After Ironing
Linen continues to lose moisture as it sits, and a shirt pressed to absolute dryness will feel papery by the evening. If you want a soft handle, stop while there is the faintest trace of dampness in the cloth, then hang the item on a hanger or lay it flat to finish drying naturally. The last of the moisture leaves on its own and takes the stiffness with it.
If you prefer a firmer finish on napkins, runners and tablecloths, press them dry and fold them while still warm. Folding warm linen helps the creases sit where you want them, and they will hold through a dinner service.
A Short Routine That Works
Take linen from the line while it is still slightly damp, or mist and rest it if it has dried out. Set the iron to medium-high and let it come to temperature properly. Press the awkward areas first, keep the iron moving, and use a press cloth on anything dark, embroidered or starched. Stop before the fabric is bone dry, then hang or fold while it is still warm.
Do that consistently and linen stops being the fabric you dread. It becomes the one that looks sharpest with the least effort, which is exactly why it has been worth ironing for the past few thousand years.
Photo: Jonathan Borba / Pexels